So, I watch Firefly. I adore Firefly. I cry into my pillow every night that there isn't MORE Firefly. if you haven't seen Firefly, quit reading this and go watch RIGHT NOW. It's on Netflix streaming.
 |
| This is River Tam. |
I love River Tam. Smart, crazy, ass kicking little goddess. And she wears this outfit in two episodes of the show. Very cute. and then I found this.
http://dragoncrafter.livejournal.com/20094.html
this, my friends, is a step by step crochet pattern for that gorgeous vest River is wearing. now, when I found this, I didn't know how to crochet. but I'd always thought I should learn, since I love knitting, and love learning new things. At first glance at the pattern, I despaired of ever understanding it, and considered asking my mother in law to make it for me. but I perservered. My job is utter bullshit, and I literally do NOTHING. (Not exaggerating. I love my job.) So I got a hook and some yarn and hit up Youtube. successfully taught myself to crochet. It wasa bit difficult without someone there to show me and for me to ask questions, but I got it. I got more comfortable by getting in to making amigurumis, which are super cute and super fun, I may make some posts about the adorable things I've made. Basically that helped me understand how to read a pattern, and really make sure I knew what I was doing. I'm gonna go ahead and put my process in here now.
IMPORTANT: this pattern was not written for a size small or medium. KEEP THAT IN MIND. YOU MAY NEED TO ADJUST FOR SIZE.
for the record, not to offend anyone who's done it this way, (do what works for you, this is just my opinion) but I do not recommend changing the triple crochets to doubles and the quadruple crochets to triples. it seems to take away from the open look of the vest and you end up with something thicker and heavier. you just don't get the same look. just change hook sizes to get what you need to fit you. the 2.0 mm hook was perfect to me, and I'm generally between a small and a medium. also, for accuracy, the fingering weight yarn is important.
www.knitpicks.com is a great site for yarn with fantastic prices. the smaller hook and the fingering weight yarn alllow you to include all the edging rows so your vest is as screen accurate as possible.
11/11/11 yarn purchased. I’m so excited!
11/20/11 All right, it’s official. I’m five rounds in to the first square. here we go.
11/23/11 So, halfway through the first square and I’ve come up with some upsetting math. on a C hook with fingering yarn, this square will likely turn out around 15 1/2” across. way too much for my little rib cage. So, after some experimenting and swatching, I’m going to undo everything I’ve done
sob and restart on a 2.0 mm hook. Math says that should be 14.2” across, but this is not accounting for the smaller first three rounds, so probably more like 13”. which is only slightly bigger than my goal, which is 12”. probably an acceptable margin. we’ll see. sigh…
math says my current square should be 17”, but it’s an inch and a half smaller. so this should be right.
1/15/12 took a bit of a break for my Christmas projects, but I’m back in. almost done with the first square.
3/22/12 took another break to finish my husband’s socks- I don’t like making socks, so I made myself focus on only that project and nothing else, or I knew I’d never get done. back on track again. I finished the first square, it came in at about 12 and 1/4” across. which is absolutely perfect. I am pleased. the 2.0 hook was a good switch. also it’s nice that I got it right on my first try with a different hook. I thought it was going to come out an inch bigger, but I guess my gauge was smaller than I thought. I’m okay with this. On to the next square!
7/24/12 yay motivation is back! those tedious socks kinda killed me for a bit. but I’m back in the game now, started again yesterday and now on round 10 of the second square. just used up my first skein. hoorah!
7/26/12 the squares are done! now to make it actually look like a vest…
I messaged another member who made this vest to get some help on finishing, who was fantastic about it.
http://www.roguebibliophile.com/2011/12/04/river-tam-vest-finishing-notes/ very much better. the notes on the original pattern were way too vague for a brand new crocheter.
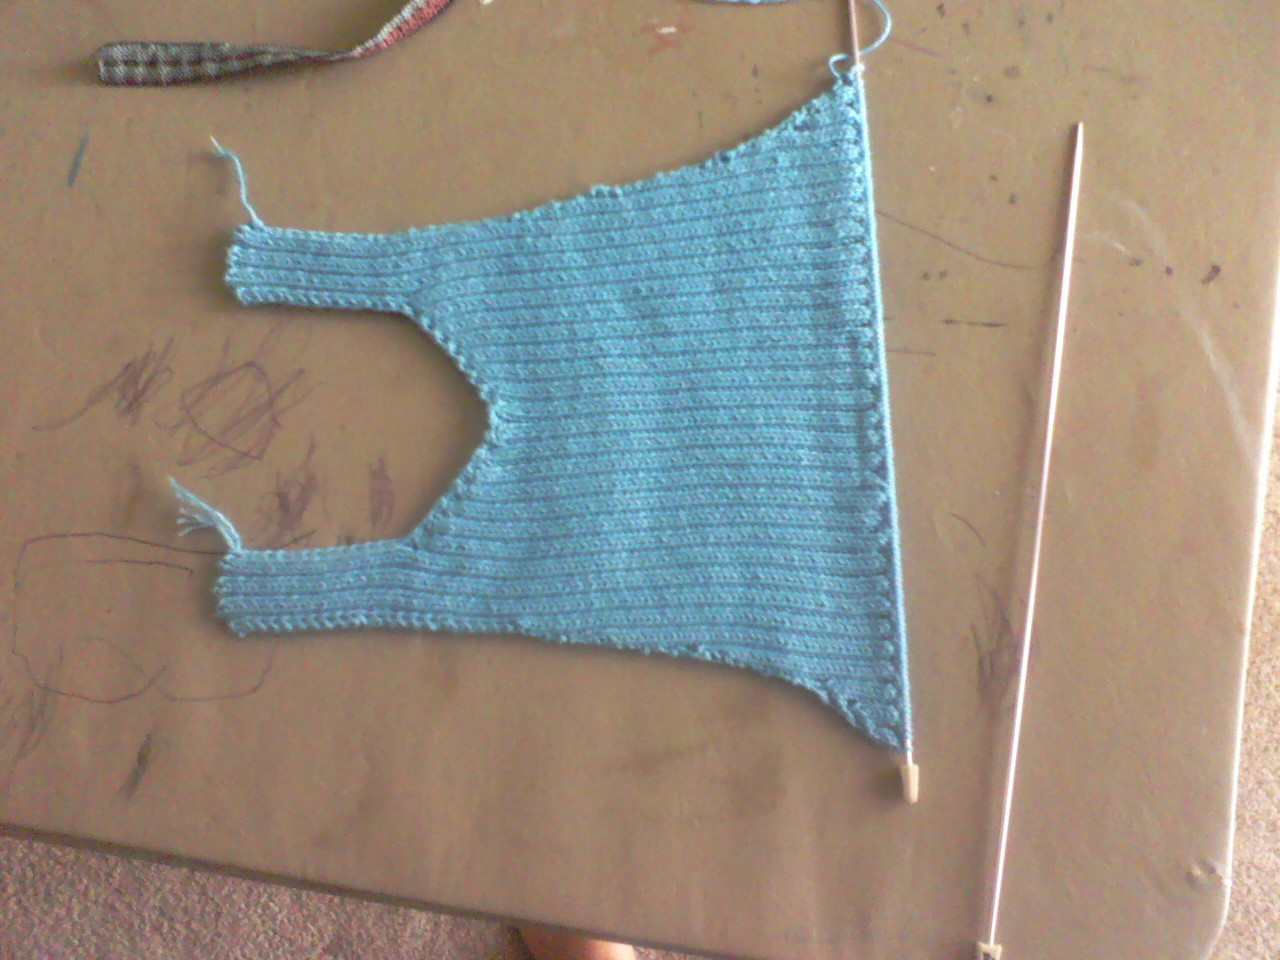
7/29/12 added some progress pictures. I have shoulder straps now! it seems to be going well, I am very happy with it. incidentally, definitely see biteyfish’s more detailed instructions for finishing the vest. very clear and very helpful.
this is for my own reference: someone who created this outfit and did a great job on the dress:
http://jj9437.livejournal.com/80028.html
7/30/12 a few notes- out of sizing paranoia I left off one row on the back, between the squares. should not have done that. It still fits, I just think it would fit a bit better if I still had that row. It’ll still be okay though. also, I went back and added a few rows to the shoulder straps- I did 15 instead of 12, as biteyfish’s instructions said. I will also probably add some rows to the bottom panel of finshnet as well. Keep in mind, though, I’m 6’ tall with a freakishly long torso, so I need the length. I stuck with my 2.0 mm hook for the rest of the vest, but part of my is wondering what would have happened if I’d gone up a size to try to get a looser look. Too late now, but worth pondering if I ever redo it.
8/2/12 all done! I’m so happy with it! the fit is fine, despite my worries. I added a picot stitch in between the two tr in the last row of the edging along the bottom and down the front to make it more accurate, and the tie is just a double stranded chain laced in the spaces in the front. I used very nearly three skeins- like literally, I had a few feet left- of my yarn. the ivory color I got is perfect, I think. I love it, and I’m very happy. Gigantic thank yous to Ariel Barton for coming up with the pattern in the first place and biteyfish for helping me with the finishing.
and yes, I did go on an epic quest to all the nearby thrift stores to find a dress somewhat similar to River’s to go with the vest.
There you are. The whole thing. I completed the project I learned to crochet for.

 40 1/8" long total

 12/16/11 all done! he went together so fast! I could definitely do this in less than a day. probably a couple of hours if I was uninterrupted. I followed the pattern exactly except for the wings. I was afraid the wings with the pattern were too plain so I used the pattern from this moogle: http://magicpixieknitter.blogspot.com/2007/09/quite-bit-later.html the moogle is knit but the wings are crochet and I like them a lot. I also used a bit of my boucle brushed yarn in ivory to do the fuzzy collar bit on his chest. for his bobble, I actually took three pipe cleaners and twisted them together. then I twisted the top part into a circle, used another pipe cleaner to reinforce the circle and then to support the circle to the main stem. as I was sewing the bobble together, I then sewed the ring to the top of the bobble, stuffed and closed. I did a similar thing making a ring at the bottom of the pipe cleaners after poking it through the top of his head and then sewed it to the top of his head. it made a very stable base. if that doesn’t make sense, and you want a better explanation, message me and I’ll try to be clearer, with pictures and whatnot. the bottom line is, his bobble stands and that was what I was going for. I then wrapped the stem in black yarn to neaten it up. I really love this guy. I have decided however to not give him to my daughter, I am not confident that the bobble would stand up to a five year old playing with him. So I’m going to make her something else. Probably a Shaun the Sheep. or a duck. she keeps asking for a stuffed duck….
 5 7/8" out of this skein.
 after the 4th skein of yarn: