Two posts in a week after like nearly 6 months of silence? Crazy!
But like I said, I got some stuff to catch up on.
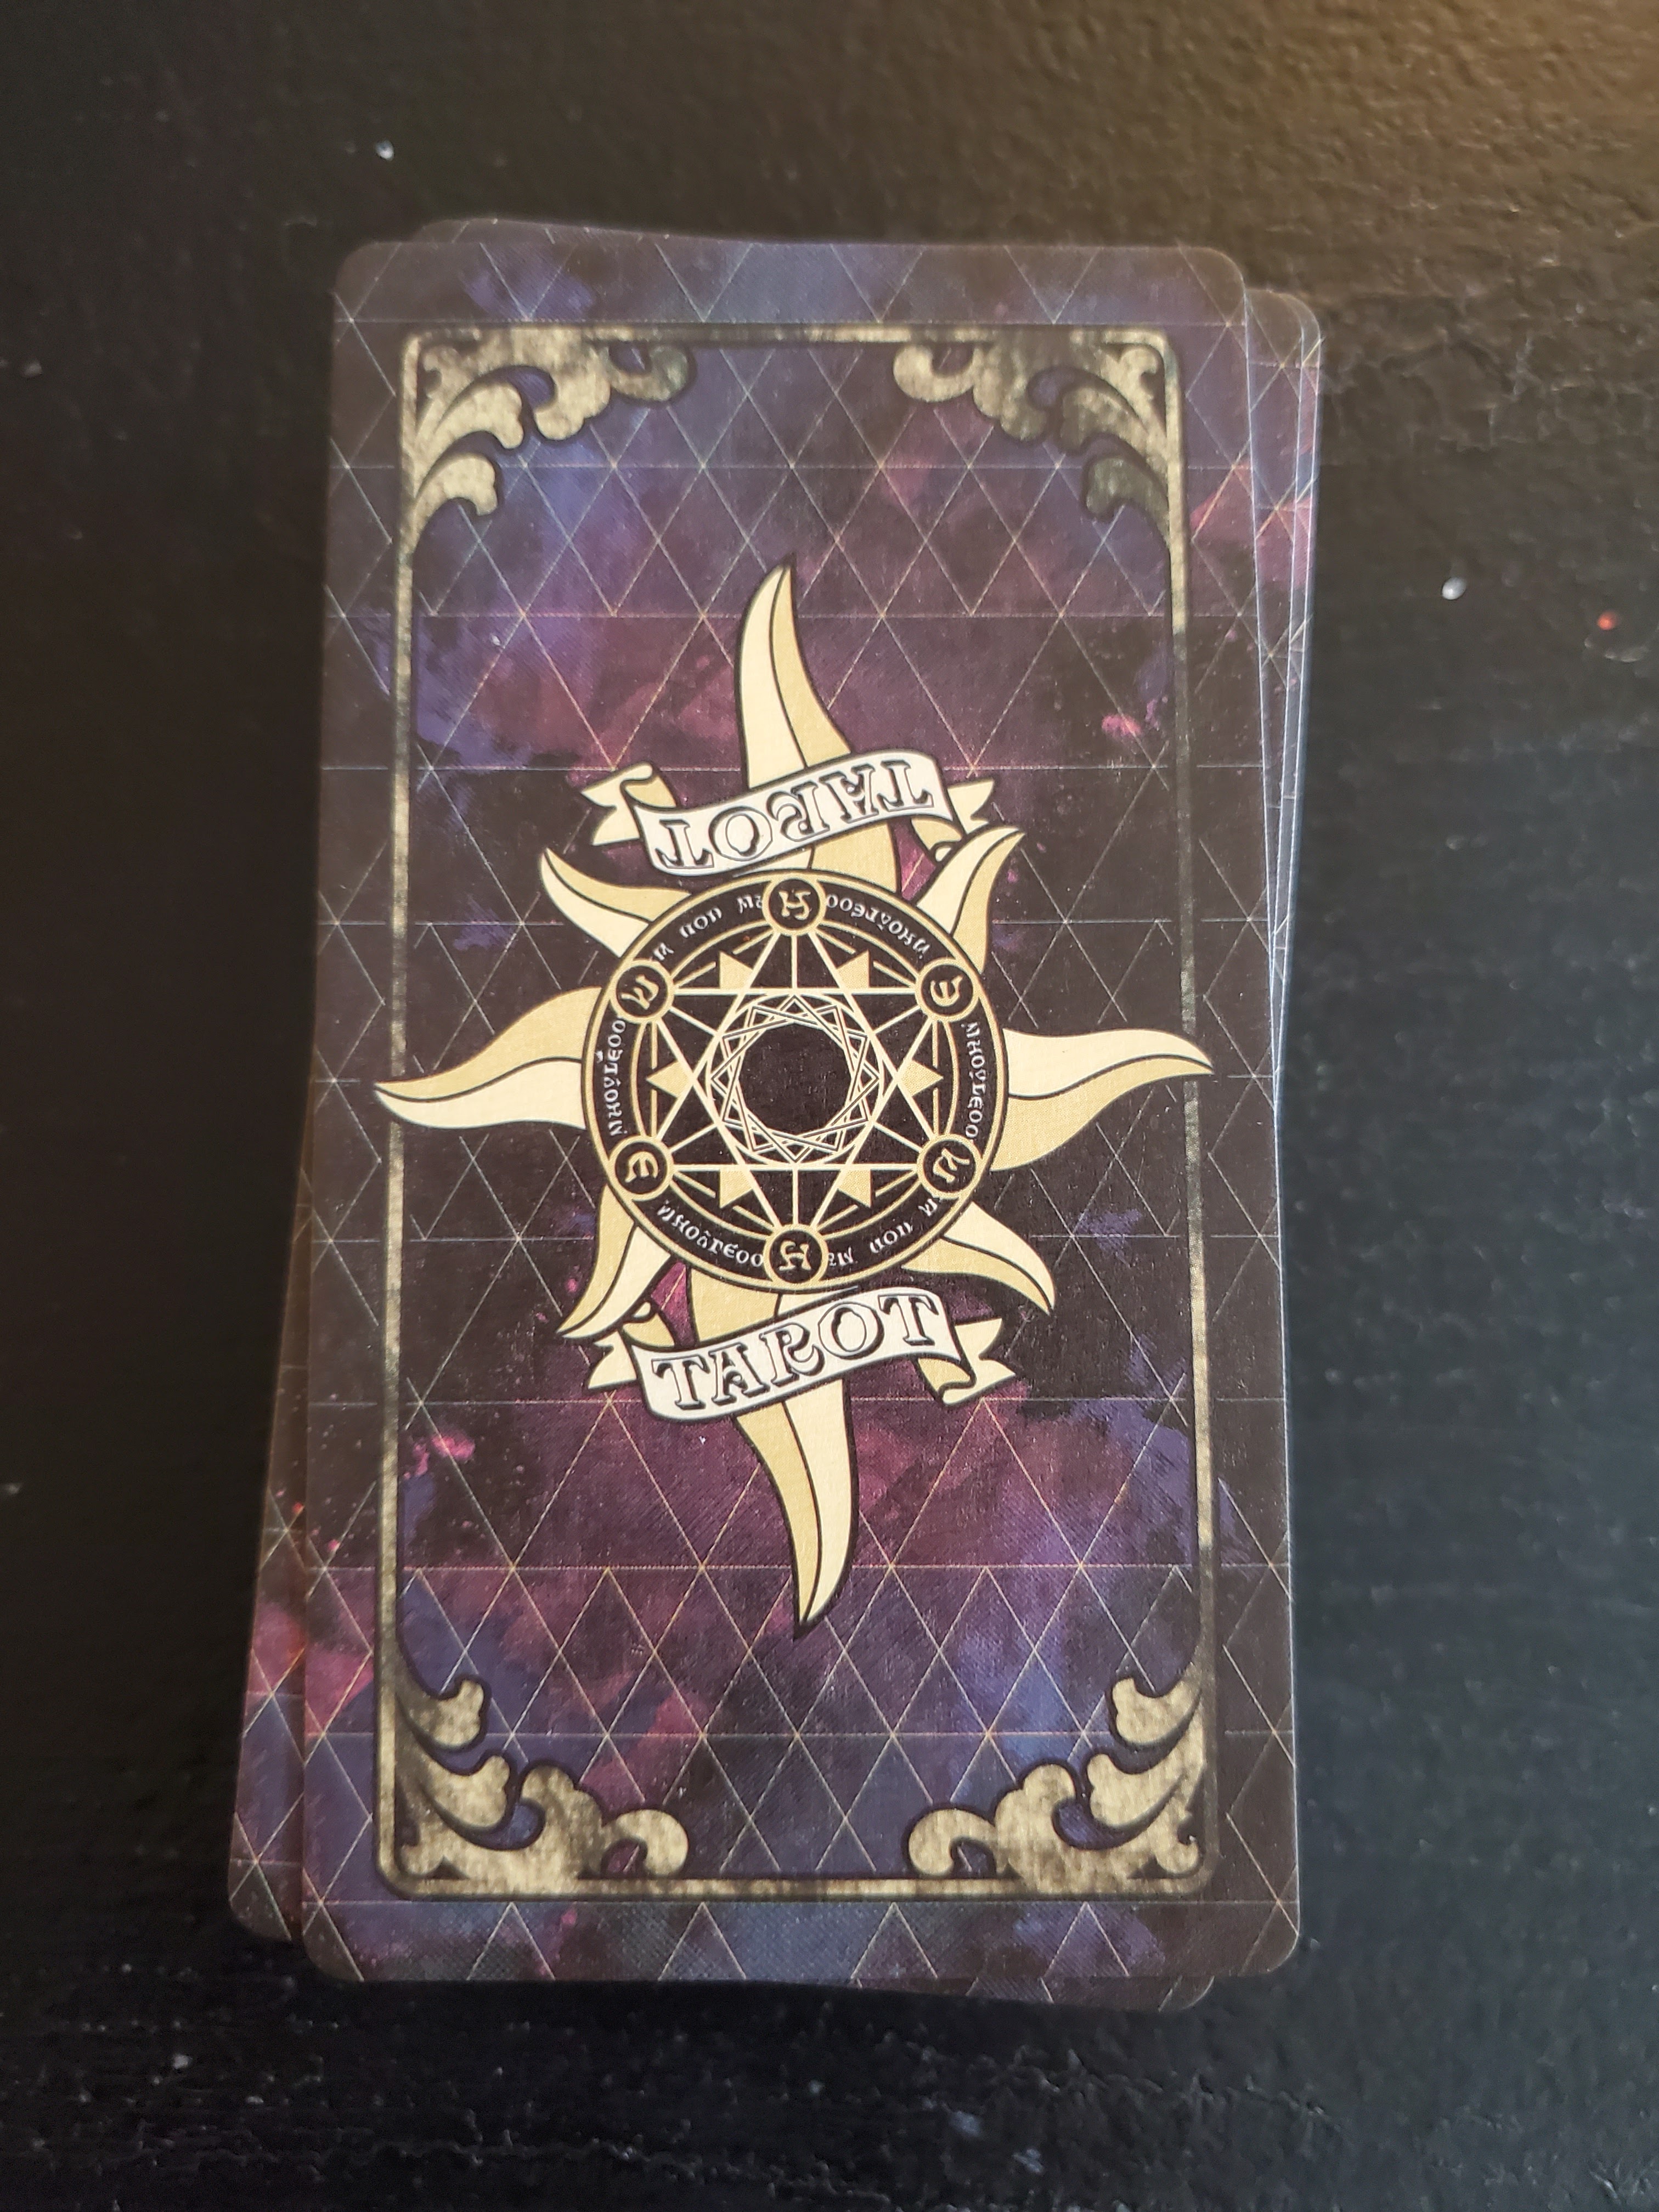
So, in my last post you saw my adventures into the wonderful world of tarot deck edging. I knew people trimmed borders off their decks as well and had looked into it, but was just suuuuuuper scared. So I did the smart thing and I went on Wish.com and bought several knockoff tarot decks for a couple of bucks each. That would give me something safe to experiment with. In particular there was one deck I had seen that used the traditional Rider-Waite images but it was HOLOGRAPHIC. And I loved it. But it also had a large black border with Chinese card titles underneath, since, you know, Chinese seller. Makes sense.
I also wanted to experiment with rebacking a tarot deck, which is apparently a thing as well. People glue cards to scrapbook paper or use contact paper or whatever to change the backs of decks that they don't like. Knockoff decks would be perfect to try that as well.
(Also, in case this needs to be said, don't buy knockoff decks off of Wish.com. They're tiny and the quality is absolute garbage. You get what you pay for, you know? Also, the artists that work so hard to create these beautiful decks don't get any money from knockoffs. Buy legit, support artists!)(The Rider Waite deck art is public domain so no shadiness there. And the decks I did buy knockoffs of I either already own the legit deck, or immediately regretted my choice and bought the legit version.)
Anyways.
After the usual weeks and weeks of waiting, my cheap experiment deck arrived.
Look how shiny it is! I really like it, even if it is just a knockoff deck.
So, I watched a lot of Boho Tarot's videos about trimming and talked to many members of my Facebook crafting group to figure out the best tools to use so I could make sure I got the best results possible. I had a sliding paper cutter already from a brief stint with scrapbooking, but based on my experiments on various extra cards the sliding cutter created a slight raised edge. I could somewhat burnish it out with the back of a spoon, but I still wasn't happy about it. So based on advice I bought a small Fiskars guillotine style paper cutter and a highly recommended corner rounder punch that had multiple sizes. I got them here, in case you're interested:
https://www.amazon.com/gp/product/B000NUY5Q2/ref=ppx_yo_dt_b_asin_title_o07_s00?ie=UTF8&psc=1
https://www.amazon.com/gp/product/B0076FJ7SS/ref=ppx_yo_dt_b_asin_title_o00_s01?ie=UTF8&psc=1
I also bought a basic little $2 geometry ruler set with clear plastic 45 and 90 degree triangles and a little 6 inch ruler to be able to create guides for reliable trimming.
So when I was getting ready to trim, I basically carefully lined the card up on the cutter and then used some washi tape to tape down the 90 degree triangle to brace the back edge of the card, to make sure I lined up each card exactly the same way.
It's also important to cut one side at a time for all the cards, that way you only have to reset your ruler once for each side. As long as you make sure each card is straight and securely pressed against the ruler, you will get nearly factory perfect cuts.
This is after I finished trimming and rounding the corners. See how nice and even all the cards are? That was my biggest worry, that the cards would all be slightly different sizes, but this was very nearly perfect, and very satisfying.
See how much nicer it looks as full art with no borders? But as you can see, that card back is a problem. A: It doesn't match the fronts at all. It's not a bad design really, but it looks so flat and jarring with the holographic fronts. And B: because of the titles on the bottom of the card I trimmed more off the bottom than the top, leading to an off center design. Unacceptable.
I didn't love the way rebacking decks seemed to make the decks so much thicker so I did a lot of research on the absolute thinnest methods to reback. In the end I decided craft vinyl, the kind of thing you'd put in a Cricut would be the best choice. Plus I could get a nice shiny holographic vinyl that would match the front. I bought this:
https://www.amazon.com/gp/product/B078H9HLRM/ref=ppx_yo_dt_b_asin_title_o06_s00?ie=UTF8&psc=1
Basically I measured the width and height of a card, multiplied it to get the total surface of vinyl I would need and then I spent a great deal of time carefully measuring and cutting out rectangles just slightly larger than the card. I then went one card at a time, carefully peeling off the backing and adhering the card and then trimmed off the excess with an Xacto knife and the most careful and steady hand I've ever tried to have. It was a lot of fiddly and careful work. And it did make the deck thicker, but it looked much nicer.
You can see in the first two pictures how much thicker it got, it was like a quarter of an inch, so really not bad. But being small and thick does make it a bit interesting to hold. I love the new backs though, everything looks better.
Everything is shinier in video!
I also edged the deck, because as you can see, the edges weren't super pretty. It was not easy to edge since the card backs did not perfectly line up with the vinyl. There is a strong argument to be made for putting the untrimmed cards on the vinyl and then trimming them to get a perfect match but that would have needed much more vinyl that would have been wasted in the end when it was cut off, plus I had heard members of my Facebook group complain of gunky sticky residue left on cutting tools due to the adhesive back of the vinyl, and I didn't want that. My method was a bit more tedious and less precise, and I did somewhat lose my perfect trim job, but my way was more economical.
The edging came out like this:
As you can see, due to the vinyl I did not get a nice smooth color. But it looks better than the raw cut white edges.
So in the end, I decided that trimming is totally doable and can be done perfectly and can really improve a deck that needs to lose the borders. I will be very selective of the decks that need this however. Rebacking is really more of a hassle than it's worth and I'm not really a fan of the effect it has on the cards, even if it does look better.
Before I go on to show you the other decks I trimmed, there was one more step I needed for this deck. Naturally, since I trimmed and rebacked it, it was no longer going to fit in it's original box, I needed to make a custom box for it. Here my tarot crafting group came to the rescue again and directed me to this video:
https://www.youtube.com/watch?v=aZaxtDQj17k&list=WL&index=17&t=3667s&ab_channel=Cuilfaen
That is a step by step walk through for creating a custom sized box for a tarot deck and it was exactly what I needed. You don't get a step by step walkthrough of what I did here because, damn man, it's right there in the video.
I had enough vinyl left to cover the top of the box in it to match the deck and glued a few elements of the original box to it. The bottom was just done in black, and I left enough space from the top edge of the box that I'm able to keep a small quartz crystal in the box, and this shiny little deck became my purse deck for tarot on the go!
Next up, one of the knockoffs was a copy of my Shadowscapes deck, which as you know is my favorite deck, and I loved the idea of having a little purse version of it. Lots of other people trimmed their copies of the Shadowscapes deck, the art just pops when you remove the borders, but I didn't want to do that to my beloved deck. However, little mini knockoff? No problem!
I set it up exactly the way I did before, but daaaaaaaaaamn the quality difference was bad. I had to cut off way more of the artwork than I wanted due to cards being printed offcenter or crooked or higher or lower on the cards than the others. You can see from the pieces I cut off the differences in the art placement.
You can see that the design on the back lines up differently because of this as well. Although trimming did solve one problem.
If you look at the left and right edges of the card you can see that the image is duplicated just on the edge to make it stretch to the edge of the card. Trimming did mostly remove that. Because of the not matching backs I'd have been tempted to reback, but these backs actually match and I don't really want to make a habit of rebacking, it's not something I really liked the result of.
I did have one bit of drama because of the bad print. When I trimmed The Moon card, the image was so crooked that my original setup didn't take the whole border, so I had to reset and recut that side on all the cards I'd already cut to make them match.
Look how bad that is. Seriously, guys, don't buy knockoffs. In the end, the trimming fixed the crooked printing, even though I had to cut off pieces of the art. Trimming couldn't fix the lesser quality of the print, you can definitely see the difference if you put it next to my legit copy.
SERIOUSLY GUYS. Don't buy knockoffs. Get legit copies, support artists!
Anyways. Next up was edging the deck. I didn't feel like doing the paint pen for this version, so I just did a lightish purple Prismacolor edge:
The marker did bleed into the card a bit more than I'd seen on other decks, probably due to the cheap cardstock it's made of, or potentially because it was trimmed? I'm not sure honestly.
I also made another custom box using the same instructions as before and again, decorating it with pieces of the original box.
I had one other deck that I wanted to trim, and it was the reason I started playing with trimming in the first place. I have the anniversary edition of The Enchanted Tarot with it's massively oversized cards. They're beautiful, but goddamn they're monsters. Holding and shuffling the deck is just impossible.
So, trimming this deck was a little harder because the cards were too big to fit comfortably lengthwise on my trimmer. I ended up taping a ruler sticking out off the edge and then taping some cardstock to the end of the ruler for where I wanted to line up the end of the card. The nature of it was such that I couldn't press the cards as securely up against it so it's not quite as perfect height wise. I spent a lot of time taking tiny slivers off the top and bottom of the cards to get things as even as I could. I also wasn't taking off all the borders, I still needed the titles on the card as I'm not as familiar with the imagery in the deck, and I wasn't confident I could recognize the cards without the titles. After trimming it through I did make it my deck of the month for my daily card and I would cover the titles when drawing the cards and try to see if I could identify it, so I'm better with it now than I was. Anyways, this is how it turned out:


It's still a bit oversized, but more just longer than a regular deck and not so wide anymore, which definitely helps. And if I get good at reading the deck I'll take the title off as well.
Of course then it needed a box. It originally came with a velvet bag which would have still worked, but I don't like keeping decks in bags, I just feel like it's not protective enough.
This box was my best work yet, it fits the deck so perfectly I want to cry. And I love how the patterned paper looks in the top part of the box. The outside is decorated with gold tissue paper crumpled up and then pasted on with glue. If I do trim the titles off I think I'll just put little pieces of foam in the top and bottom of the box to keep the perfect fit so it doesn't slide around.
There's one other edit I'm thinking about doing to this deck, but I'm not sure if I will or not. One of the members of my Facebook group did this to her deck:
Looooooooook at the corners! She basically just used a decorative punch on all the corners and I just love it! It's so pretty! I bought several decorative punches with this idea in mind, but it practice mangled several pieces of cardstock so I was too scared to use it on the deck until I can get more reliable results. Plus I'd have to redo the bottom corners anyways if I trim off the titles. So that's on hold for now.
I think that's it for my tarot deck editing crafting for the moment. I definitely still have plans to do other things, but that's all I've done. I still have many things to post up here, but I think that's enough for one post.