Tuesday, March 19, 2013

Rinoa Heartilly


Please excuse the massive image dump, but this particular sweetheart has so much detail, I'm so proud of her.

Rinoa Heartilly!  I had this idea, and I just couldn't resist.  Now I have a matching doll to carry around when I'm dressed as her!  you know it's totally a Rinoa thing to do, to have a cute little doll of herself. :)

She's based on the Tinkerbell pattern with the alterations I made for the Sailor Moon dolls for the body. The skirt is the same, but with only like two or four increases so it fits over her hips.  Her skirt doesn't flare at all. silver buttons were embroidered on.  Her boots are the same as Jupiter's, with the little silver buckles embroidered on.  Her legs are six rounds of skin color and six of black, with the lines for the zippers embroidered.  Her necklace is two strands of embroidery thread chained on a 1.3 mm hook (SO HARD TO DO.  tiny hooks suck.) and a loop on the bottom to look like a ring.  Her arms are two rounds of skin color, three of blue, and three of skin for her armwarmers.  Her hair is Ariel's pattern with the short hair variation for the strands, and Sailor Moon's bangs, but only four on each side.  and I just embroidered the highlights on with brown.

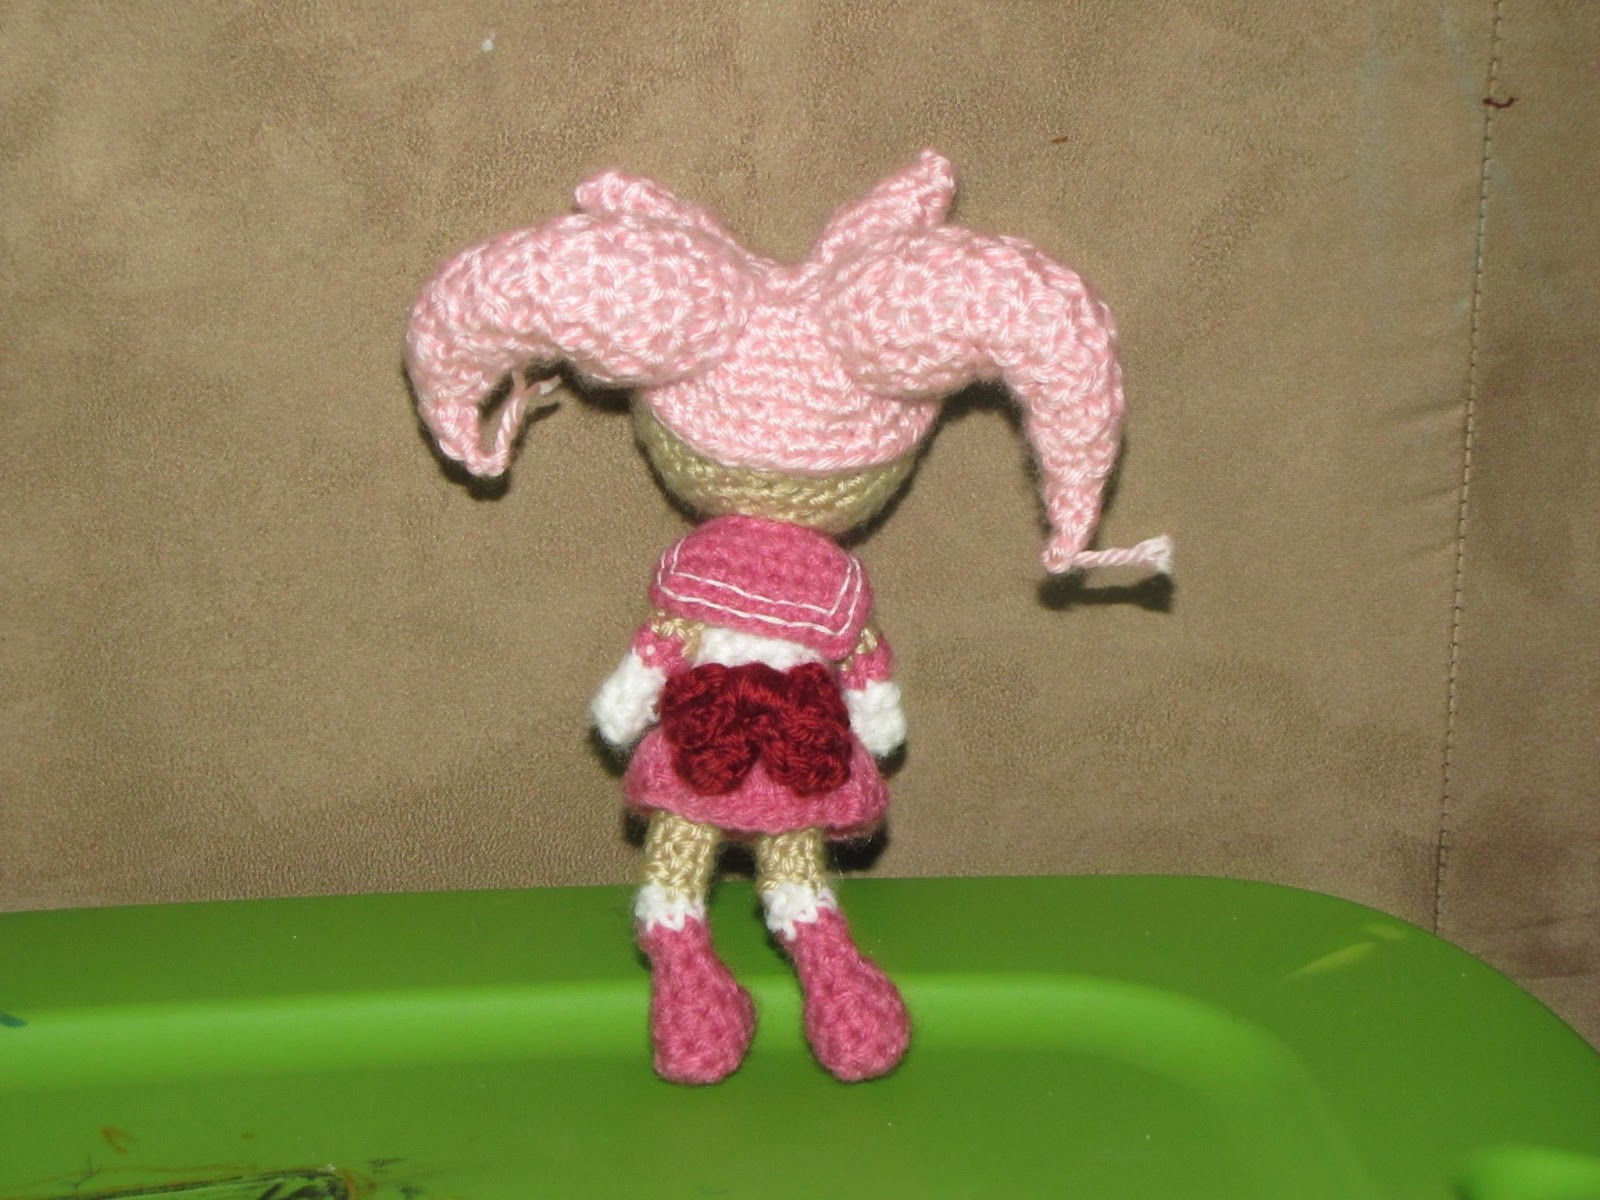
The duster.  that was the biggest thing I created for this.  I ought to be an expert at Rinoa's duster, right?

started at the bottom, chained 15, so it would be 14 sts across.  went up until it reached her hips, decreased two stitches each on the next two rows to 10 st,  crocheted across until it reached about her armpits, sl st next 3, sc in next 4, sl st, turn, ch 1, sc in 4 previous 4 sc, turn.  I think I did four or five rows of 4 sc.  at each corner of the 4 sc bit I ch-5 and joined it to the point of the piece where it was still 10 sc across to make the arm straps.  the tails from the hains worked perfectly to tie it across her chest, and the wings are handpainted on by me, using the same picture I used for my own duster as reference.  I tried to get as much detail as possible, but it was a very small space.  I think I did pretty good though.

I think that's all the details. I had so much fun working out every part.  She is also for sale in my Etsy shop: http://www.etsy.com/shop/Lynlynlora

And now I really think I need more Final Fantasy character.  Ohhh, these will not be easy.

Friday, March 8, 2013

the Black Lady


And I felt like my set needed a villain, so, the Black Lady.  She's always been my favorite, she's gorgeous.  Sailor Moon's cap and bangs and pigtails, with Sailor Chibi Moon's odangos.  Her bodice is the same as all the other senshi, just in black and burgundy.  I just wrapped black yarn around her neck for her black collar, and embroidered the shoulder straps on after the arms were sewn on.  Same basic legs, with red heels.  Her sash is the same as Mulan's, except that I did dcs all the way down, instead of hdcs, cuz I wanted it a bit wider.  The dress was fun.  I sewed her legs on first, and then I picked up five stitches through the front loops just even what would be her hips.  this is what I did to make the skirt piece:

after picking up the five sts,
sc in each st across - 5
1 sc in next st, 2sc in next st, 1 sc in next st, 2 sc in next st, 1 sc in next st - 7
sc in each st across- 7
1 sc in next, 2sc in next, 1 sc, 2sc, 1sc 2sc, 1 sc - 10
sc in each stitch across - 10
repeat until you reach her feet.  I think this was about 7-ish rows.  I'm not sure.  I didn't count.

do the same thing on her back.  this way you get her black skirt with the long slits up to her hips.  I ended up using a little black yarn and stitching a bit at the top of the two skirt pieces, just to draw the pieces together.  And of course, embroidered the black moon on her forehead.

you know, it occurs to me, it would be really easy to make a Luna P ball...

Thursday, March 7, 2013

Big News! I suppose. I made an Etsy shop.

People tell me over and over that I should sell the things I make.  I did once, I made like six moogles and sold them at my local game store.  they didn't sell fast, but they did sell, and it was kinda cool.  But I didn't like mass producing them, it kinda took the fun out.  But I realized I can make them made to order on Etsy, so I made an Etsy shop, if anyone wants a Sailor Moon Doll.  it's here: http://www.etsy.com/shop/Lynlynlora

Out of courtesy, I messaged the designer I bought the Disney Princess patterns from, showed her my dolls and asked her permission to sell the dolls.  They are heavily modified, but I still used parts of her patterns.  She had no problem with it, as long as I wasn't selling any part of the pattern.  The only thing I'm selling is the dolls, and even here on my blog, the only thing I've put on here is the things I've done differently, you'd still need the patterns my dolls are based on to make it make sense.  I love her patterns, so I'm not going to steal that part from her.

Tuxedo Mask and Princess Serenity


well, here's Tuxedo Mask.  he's not my favorite.  I've noticed that any project that inolves switching colors like this partway around the round never seem to turn out well for me. Apparently I just haven't mastered it. it's not terrible, but I just have some issues.  He was based on the Prince Eric pattern- I do have a Prince Eric pattern, I just haven't made a Prince Eric yet.  I added a cuff through the front loops around his ankles and the bottom of his jacket to create definition, and then again on the edges of the white to create the lapels of his jacket. he does have a little bowtie, although you can't really see it.  I just tied some yarn in a little bow and stitched it on.  His mask is cut out of felt, which I normally feel is cheating, but I could not think of a better way to do it.  I modified a mini top hat pattern so that it would fit, and added a rose, naturally.  My biggest issue is the cape, I used the pattern for Snow White's cape, just made it longer, and I do not like the shape.  But it's probably not enough to redo it.


and here's Princess Serenity.  I wasn't planning on making her, but the tumblr blog I'd been submitting these to (just to show off) begged me to make her.  And I'm glad I did, she's super adorable.  used Snow White's pattern for the dress, since she had puffy sleeves.  I added a row to the bottom of the skirt, and her arms.  On the third row from the bottom I did it through the back loops to create a line around the skirt, since Serenity's skirt is kinda two layered.  I did a ch-3, sl st in next st ruffle all around the bottom of the skirt.  Added a bow to the back, using the same method I did for the Senshi, and embroidered the details.  And she's got Tinkerbell's legs, with white shoes, just like I did for all the other Princesses.

So I've got one set of eyes left and I'm wondering what to do with them. not sure yet.

Sunday, March 3, 2013

Sailor Saturn and Sailor Chibi Moon


Here's Sailor Saturn.  I did a long sc on the front of her boots to try and give them the little V in front her boots have, but I'm not entirely sure I like it.  her hair is basically Mulan's hair, so  not pointed at the ends, but with shorter strands.  I did ch 10 strands for her.  I forgot to account for the fact that the strands would shorten when curving over her head so it ended up shorter in back, kind of an A line cut.  so I made her bangs ch-7 strands so I could tilt her hair back a bit to make up for it.


And Sailor Chibi Moon, the 10th senshi.  her hair was a huge pain.  lots of assembly.  I did the basic Sailor Moon cap to start with.  here's what I did for her odangos:

stuff as you go along.
6 sc in magic ring
2 sc in next st, 1 sc in next st, repeat twice more- 9 sts
sc in each st around - 9
1 sc in next st, sc2tog, repeat twice more- 6
sc in each stitch around- 6
sc2tog three times- 3
sc2tog, sc in the next st- 2

make two of these.  I just embroidered her odango covers on with yarn.

and then her pigtails.  I did them as separate pieces I sewed on instead of crocheting straight on like I did with Jupiter's ponytail.  same concept in shaping though.

make 2, stuff as you go along.
6sc in a ring
ch1, 2sc in each stitch around, sl st in first stitch -12
ch 1, sc in each st around, sl st in first stitch- 12
ch 2, dc in each st around, sl st in first stitch- 12
ch 2, 1 dc in each of the next 8 sts, sc2tog 2 times, sl st in first stitch- 10
ch 2, 1 dc in next 6 sts, sl st next 4, sl st in first stitch -10
repeat previous round. (I realize it's hard to sl st in to previous sl sts, but it can be done.)- 10
ch 2, 1 dc in next 6 sts, skip st, sl st, skip st, sl st, sl st in first stitch -8
ch 2, dc in each st around, sl st in first stitch- 8
ch 2, dc2tog 4 times, sl st in first stitch- 4
ch 2, dc2tog twice, sl st in first stitch- 2
ch 3
finished.


sew the pigtails on a little bit back from center on the top of her head, and the odangos just in front, centered on the head.

this does make her rather top heavy.  but she's cute and I like it.  and I'm rather proud of myself for figuring it out on my own.