So I have continued to work on my chaos deck.
One of my trades showed up with the cards inside a cute greeting card with a wolf on it, and I was so pleased by it that I decided to turn it into a tarot card. All I did was glue the card shut, trim it down to tarot size and add some contact paper for a back.

His name is Happy Wuffie and he is a reminder to find happiness in your connection to nature and how important it is to do that. I love him.
Shortly after this in my Alley group someone posted a video of them making tarot cards out of book pages which was exactly as simple as making my Wuffie had been. I immediately knew I was in trouble.
That next Sunday afternoon while Stu had a nap I went to the thrift store and bought myself a decent stack of art books and children's books and greeting cards. I even found a "Natural Momma's Affirmation Deck" that I thought might be an oracle deck, turned out to just be cards about being positive about your pregnancy with facts on the back of the cards. Useless as a deck, perfect as cardstock bases for the massive number of cards I was about to make.
After that I went through all my books and picked out the art I liked. There was an airbrush art book that had a LOT of good stuff, and an impressionist painting book that was cool, plus some Little Mermaid and Catwings and various fairytale books that gave me some great art. I had some spray adhesive, I'd spray the art, glue to half a greeting card, cut out, add a back and then trim to tarot size.
For the backs I used some contact paper, but I also picked up a decent amount of Cricut vinyl, since that's my preferred material for card backs, self adhesive, sturdy, flexible and thin. I would just match the card art to the back and stick it on. I did have to do it carefully, I would lift the backing up just a little across the top, line the card up with the top and press just the top down to attach it, then I could slowly peel the backing off and press it onto the card as I worked my way down to make sure there were no bubbles or wrinkles.
To avoid wasting vinyl I would cut the card close to tarot sized before adding it, and then do the final trimming and shaping once it was backed so everything matched perfectly. I just used my guillotine paper cutter and my corner punch from my deck trimming projects for this, it was pretty easy.
I immediately got into a rhythm and just churned out card after card after card. It was the perfect crafting satisfaction project, since each card was satisfying and it only took a few minutes to do one.


And this isn't even close to all of them. I counted, and in the end I made about 72 cards. Which does tell me I could easily make a whole deck by hand for myself.
AND that isn't even as many as I planned to make, I have a whole stack of art glued to cut up greeting cards that didn't finish the process because I basically decided I'd had enough of card making for the moment. I'll probably go back to those later.
I realized that this would be too many cards for my chaos deck, so I decided I would keep my favorites and use the rest for trades. Which ended up being wildly successful, people loved my cards and the trading frenzy was exhilarating and exhausting. But I'm very close to having at least one version of all the cards for my chaos deck, and if I don't get it in trades I'll just make a few more cards to fill any empty slots.
And of course, in the process of all this, I needed somewhere to store all these cards. And the deck would need a deck box. In the thrift store run among the greeting cards I had picked up a sturdy cardboard box that had once held a fancy set of nice Van Gogh greeting cards that I was using for storage.


It's a nice little box, thick cardboard, magnet at the front to hold it closed. However, it was pretty torn up on the corners, and I was very, very rapidly filling it up with my chaos deck. I checked with some spare cards roughly guessing how many I had in the mail still that hadn't arrived and I thought it MIGHT be possible they'd all fit, but ONLY if they were very thin, and that was unlikely. Being as the design of the box was a little pastel for my taste anyways, this box was gonna get a major overhaul.
So I knew I wanted to make it taller so it would hold more cards. I figured I could just add some wooden strips to the lid to make it thicker, I was planning to add a clasp and hinges as well.
I apologize for the lack of in progress pictures, it just wasn't really complicated enough that I felt like I needed to.
First off, I removed the lid. It was just held on by paper on the front and back, so that was just the work of the slice of an exacto knife.
For the additions, I had some thin craft wood that I had to glue two layers together to make it thick enough to match the box, and then I just cut the pieces to size on my table saw, measuring to match the dimensions of the box lid. I made them about as wide as my yardstick, I figured that would be enough space. Then I just glued them on.

I was SO pleased with how well I sized these, they fit EXACTLY to the lid and each other.
I also constructed a heavy carboard inner box thing for the bottom half to hold more cards without them sliding out when I opened the box.

This was just heavy cardboard I cut to fit inside the box and extend upwards a bit. The painter's tape was just to hold it together, but I ended up leaving it on and just covering it, it would have complicated assembly if the pieces didn't hold together.
The PERFECT fit of the lid over this inner box just gave me goosebumps. My precise fit was honestly a thing of beauty.

Next up was covering everything in pretty paper, obviously this bare wood, bare cardboard, painter's tape and torn printed paper wasn't a good look.
I started with the inside, using a dark splotchy patterned paper. I have a preference for dark interiors for boxes.
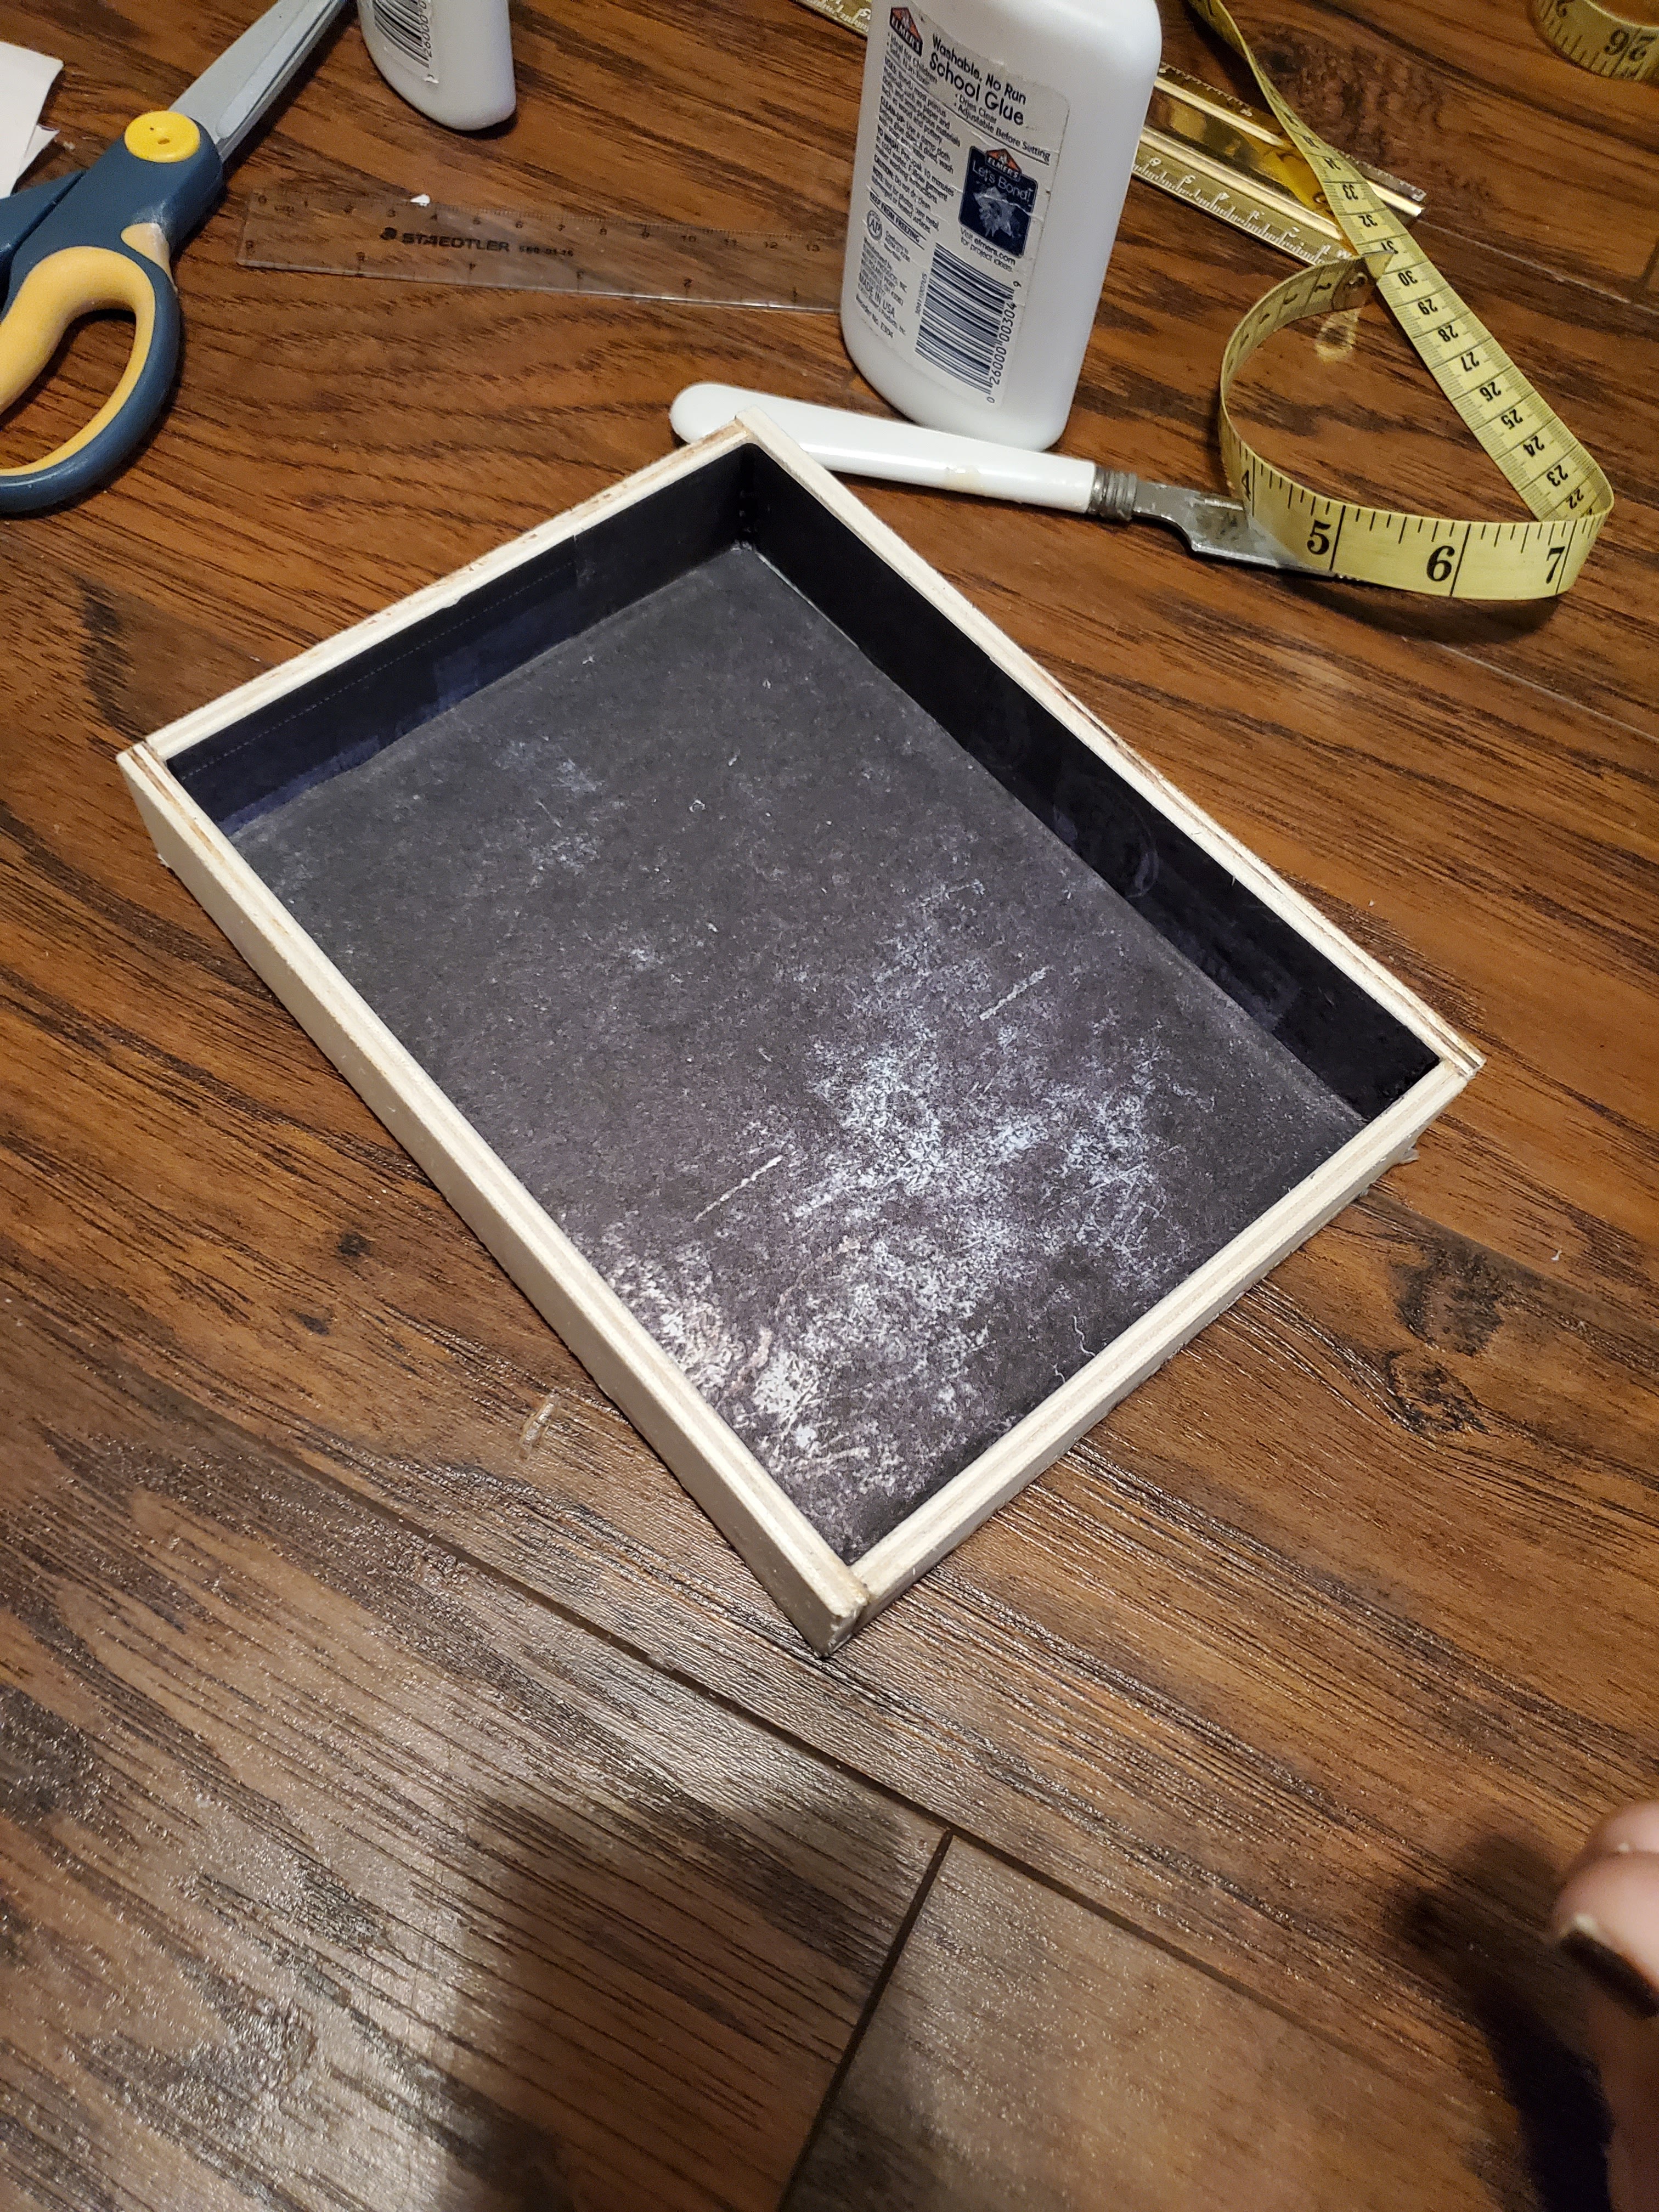

This was just a very careful, precise, tedious process of very carefully trimmed and glued in paper. It was not super difficult, just required going very slowly and being precise. More perfect fitting.


I love the way it turned out. The worn brick paper has a perfect Alleyman look, and the hardware matches perfectly. I added glue to all the hardware before screwing it in just because I wasn't 100% positive the screws were secure being screwed mostly into cardboard.
I thought I would add more embellishment to it but I cannot come up with anything I want to add to it. I could maybe see myself adding stickers in a chaotic way if I found stickers I thought felt right. But that's the kind of thing I would add organically as I found them. I think it's good as it is for now. It's a teensy bit tough to open and close with how snugly the lid fits over the inner box but it works just fine. And now I have space for plenty of cards for my chaos deck in my lovely chaos box.
No comments:
Post a Comment